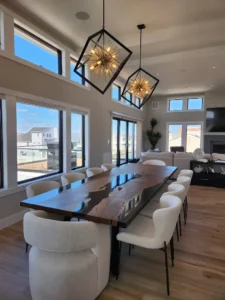
Putting a decorative wooden beam on the ceiling is a fairly easy job to do yourself. You need to take your time to measure and cut the wooden planks you use to make them.
Steps to Build Decorative Wood Ceiling Beam
We will often want to cover an existing beam that is already protruding under the ceiling. If we, do it where there is none, we will have to fix a piece of structural lumber (2×4 or 2×6) in the roof trusses or the joists of the floor frame with long wood screws. We will then preassemble the false U-shaped beam, which we will fix on the piece of structural timber that we have installed on the ceiling.

If we cover an existing beam, we must measure it well to ensure that it is equal because the warping of the frame can cause movements that will make it uneven.
Read More: Wooden Outdoor Furniture: How to Choose the Right Type for Your Space
To ensure that the false beam will have a real appearance, we will cut the corners of the boards to assemble them to hide the joints and give a more authentic appearance. We must therefore use a table saw to cut the angle of the boards as straight as possible.
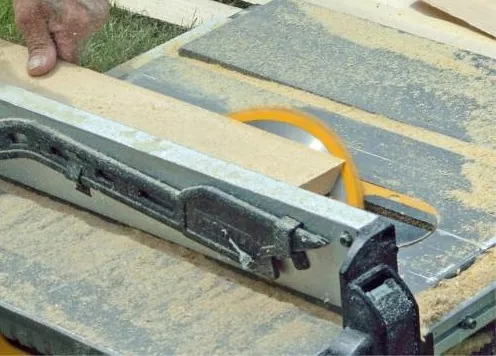
The boards should be wider than the height of the existing beam because of the cut angle. Therefore, the first height of the existing beam is measured. Then the thickness of the board and the saw blade are added to this measurement. Ideally, we will add a few millimeters to ensure that the 45-degree corner will be well cut and form the beam’s corner once assembled.
Check out: The Perfect Way to Showcase the Beauty of Wood
The planks that form the false beam are assembled with finishing nails to prevent them from being visible and easily camouflaged with wood pulp. As it is a construction that only serves to decorate the ceiling, there is no need to make a very rigid assembly that will withstand large loads. However, you can add a few screws at each end if you want to ensure strength.
Further Reading: Ways to Incorporate Reclaimed Wood into Your Home Décor
If a support beam is present, the false beam must have a joint. Because it is too long for the boards we are using. We will put this joint in its center to give the impression. That ‘supports the two sections which form it. Then, we measure and cut the angle of the boards that form one side of the beam, which we fix securely in place.

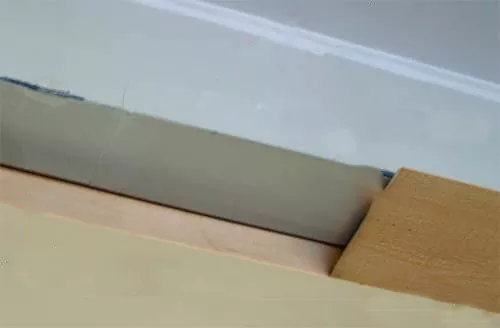
Then measure the width of the underside of the beam, which will be cut with the two angled corners. It should be cut slightly wider, a millimeter or two, to ensure that the joint that the boards will form, will be tight enough not to show light between them. Next, we put wood glue on the joint and nail the boards together by joining the corners firmly and putting a nail in them.

The boards are then cut and laid on the second side of the beam, lining up the joints if there are any. Once the planks of the decorative wood ceiling beam are assembled. Then, proceed in the same way, cutting corners at 45 degrees. And making sure that the joint between them and those of the ceiling is tight.

Once we have made the beams, we will give a more authentic appearance by rounding the corners. That will prevent the corners from being too sharp or protruding. And camouflage the difference in the grain of the custom reclaimed wood formed by the two different boards. We’re just going to hit the corner with a hammer to crush it and give it a rounded shape.

Finally, we will put the wood pulp in the nail holes. We then sand the wood from the corners and camouflage the nails. If desired, the stain can apply to it. But it is easier to do on the planks before making the wooden beam. The job is finished by applying a wood protector such as varnish or wax.