If you’re looking for an easy and affordable way to add more storage space to your home, then DIY wood shelves are the perfect solution. Not only are they practical, but they can also add a touch of rustic charm to any room. In this post, we’ll share three different DIY wood shelf ideas that you can try at home.
You may like: 10 Unique Wood Products for Your Home Renovation
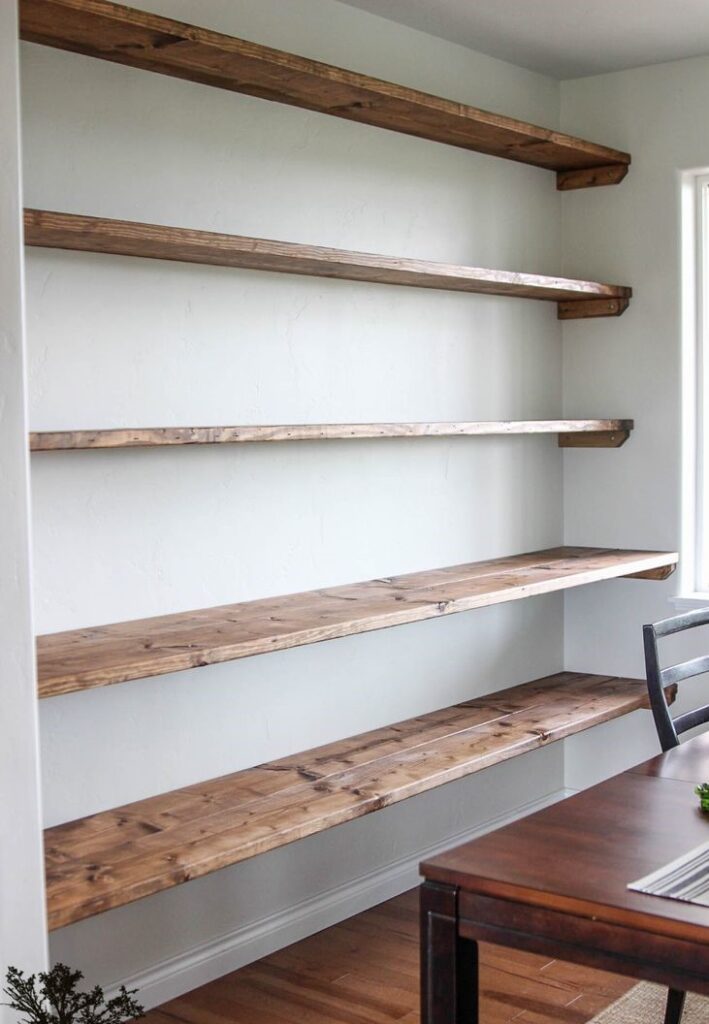
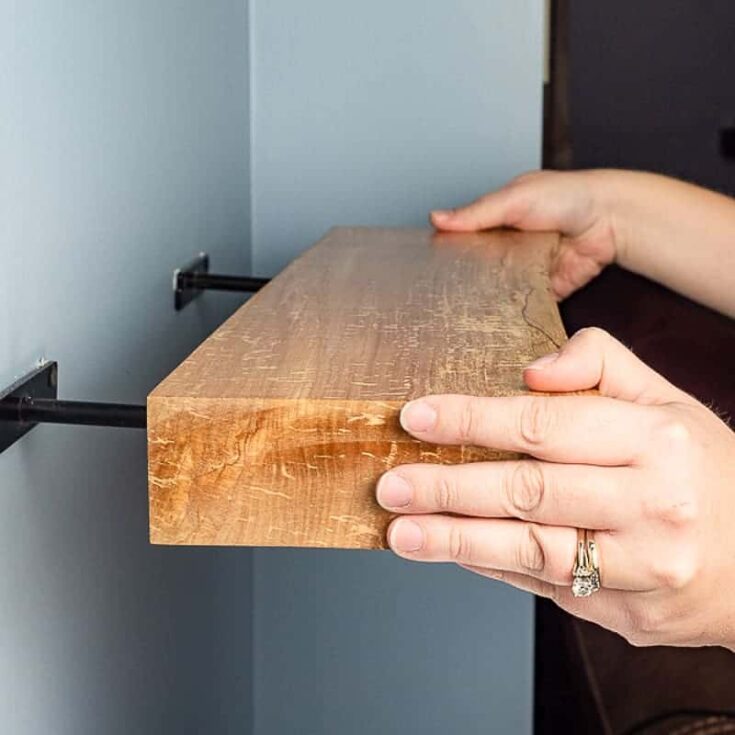
Simple and Elegant Floating Shelves
Floating shelves are a popular choice for many homeowners and a good reason. They are easy to install, don’t take up too much space, and can be used to display everything from books to decorative objects. To make your floating shelves, you’ll need: Wood planks (at least 1 inch thick and 6 inches wide); L-shaped brackets; Screws; a Drill; and a Level.
Instructions
- Measure the length of the wall where you want to install the shelves and cut the wood planks accordingly.
- Sand the edges and corners of the wood planks to give them a smooth finish.
- Attach the L-shaped brackets to the wall using screws and a drill. Make sure that they are level and evenly spaced.
- Place the wood planks on top of the brackets and secure them in place with screws.
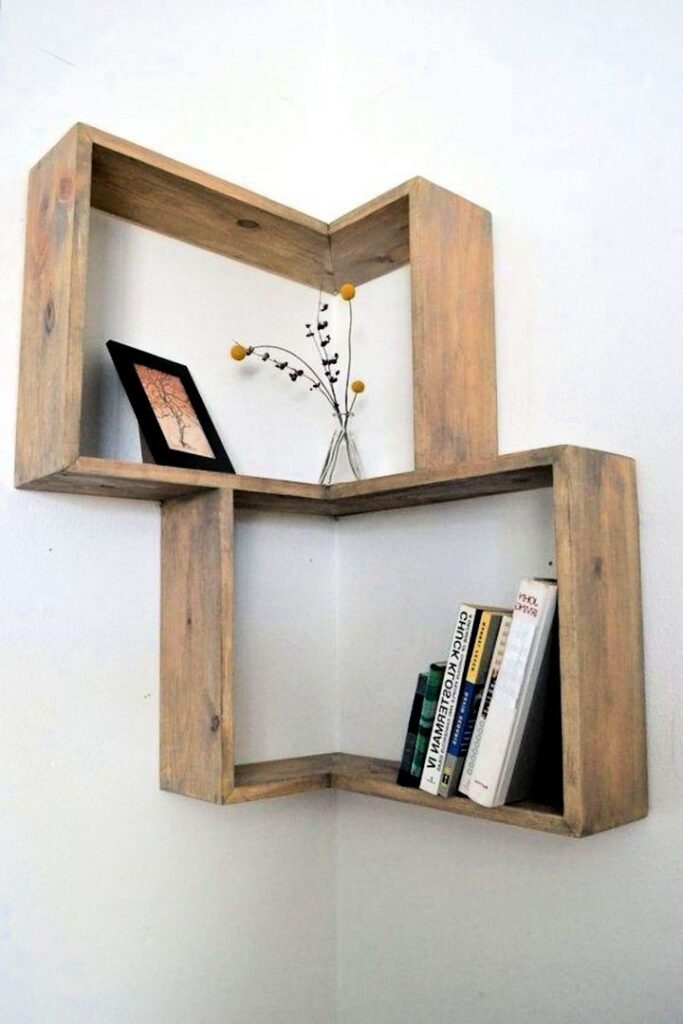
Rustic Wooden Crates Shelves
If you’re looking for a more unique and rustic option, then wooden crate shelves are a great choice. Not only are they affordable, but they can also add a touch of vintage charm to your home. To make your wooden crate shelves, you’ll need: Wooden crates; Sandpaper; Stain or paint; Screws; and a Drill.
Instructions
- Sand the wooden crates to give them a smooth finish.
- Stain or paint the crates in your desired color.
- Attach the crates to the wall using screws and a drill. Make sure to space them evenly and level.
- Add decorative objects or storage baskets to the crates.
Industrial Pipe Shelves
For a more modern and industrial look, you can try making your pipe shelves. These shelves are sturdy, and practical, and can be customized to fit any space. To make your pipe shelves, you’ll need: Pipes (size and length will depend on the size of your shelves); Wood planks; Flanges; Screws; a Drill; a Level.
Instructions
- Measure and cut the wood planks to your desired length.
- Sand the edges and corners of the wood planks to give them a smooth finish.
- Attach the flanges to the wall using screws and a drill. Make sure they are level and evenly spaced.
- Screw the pipes into the flanges.
- Place the wood planks on top of the pipes and secure them in place with screws.
Check this: The Perfect Way to Showcase the Beauty of Wood
Conclusion
DIY wood shelves are a great way to add more storage space to your home while also adding a touch of warmth and character. With these three different ideas, you’re sure to find a style that suits your home and your taste. So, grab your tools and get started on your next DIY project!